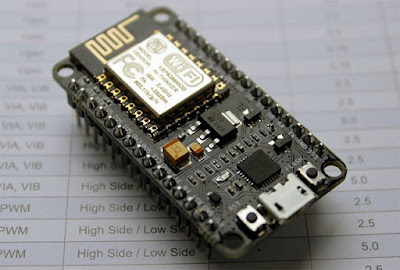
Let's Learn NodeMCU(EPS8266MOD) very popular IoT component
NodeMCU SETUP GUIDE WITH ARDUINO
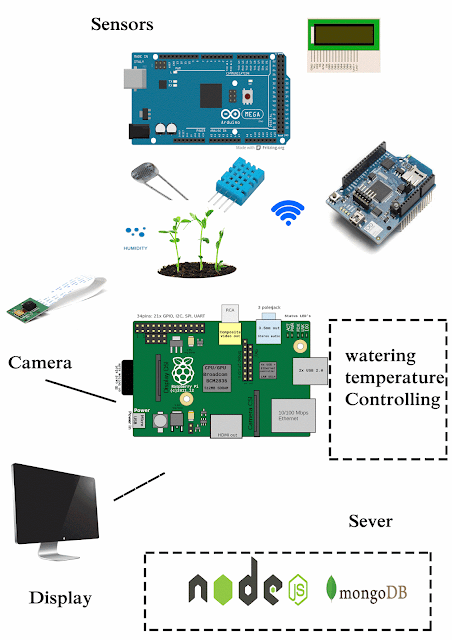
These days IoT applications are so popular. And I think you have seen my previous posts about IoT Greenhouse. There I tried to pull out many concepts about IoT Technology.
http://akilacollection.blogspot.com/2016/05/iot-greenhouse-project-part-3.html
There we have used some cost methods for IoT client Eg (Arduino Uno + Wifi Shield). But using this NodeMCU model you can reduce your cost much and this is low power consumption and integrated networking to the module So let's learn about this.
The ESP8266 WiFi Module is a self-contained SOC with integrated TCP/IP protocol stack that can give any microcontroller access to your WiFi network.
The ESP8266 is capable of either hosting an application or offloading all Wi-Fi networking functions from another application processor.
Each ESP8266 module comes pre-programmed with an AT command set firmware, meaning, you can simply hook this up to your Arduino device and get about as much WiFi-ability as a WiFi Shield offers (and that’s just out of the box)! The ESP8266 module is an extremely cost-effective board with a huge, and ever-growing, community. Ok, that's all for theory let's get to work.
Let's get our hands dirty
Let's begin with Installing the Esp8266 support for the Arduino and see how to blink an LED. It's like running hello world thing.
1. First, open the Arduino IDE Go to files and click on the preference in the Arduino IDE
2. copy the below code in the Additional board's Manager
http://arduino.esp8266.com/stable/package_esp8266com_index.json
click OK to close the preference Tab.
As in this screenshot
3. After completing the above steps, go to Tools and board, and then select board Manager
Navigate to esp8266 by esp8266 community and install the software for Arduino.
4. Once all the above process been completed we are ready to program our esp8266 with Arduino IDE.
5. Just plug your esp8266 from a USB cable.
Now the NodeMCU has been added to Arduino IDE. You can select the board from Tools->Board NodeMCU 1.0 and then go to the sketchbook and select blink code and compile it and you can easily upload it to the esp8266. But make sure to go to the board and select the type of esp8266 you are using. and select the correct COM port to run the program on your esp8266 device.
Now you can see testing bulb will blink
basic blink program that comes with the examples program in the arduino IDE which is connected with 13 pins of arduino. The 13th pin is mapped into D7 pin of NodeMCU.
So this is just beginning let's use this to do some advanced stuff. What about controlling a led from a web browser?
See you from another post.


Comments
Post a Comment
Comment