Simple Internet Of Things (IOT) Project For Home (part1)
This is a simple project we have done in Short Semester. You can try this at home. Trust me this is simple with some little coding. But in part one we are done some small job. But this small step has the essence of the big idea of IOT.
First Let's see what is the IoT concept...
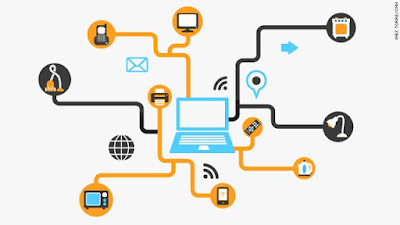
The Internet of Things (IoT) is the network of physical objects or "things" embedded with electronics, software, sensors, and network connectivity, which enables these objects to collect and exchange data.
Above definition is on the Wikipedia. So let's get the simple idea of it. In IOT we are making every day-today equipment as a thing of the internet. So as an example imagine if you want to lit a bulb of your home when are in your office you can do it with this technology...
okay, I think its enough with definitions... Let's keep our hands dirty.....
What you will need for part 1 ???
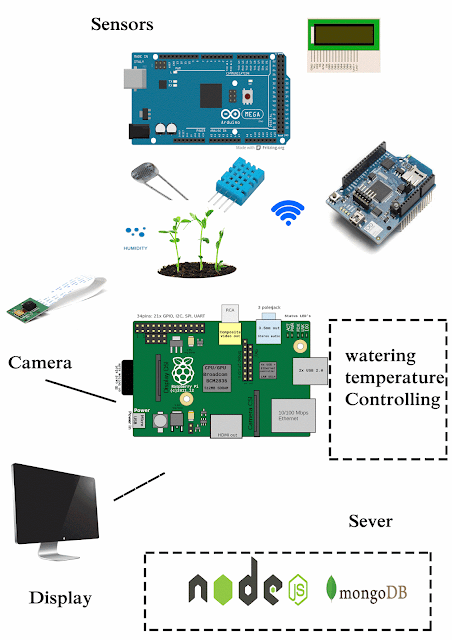
In this part first, we are creating the IOT hub. Which is the box which we use to connect all of our IOT devices? Don't think much about this Hub for now. After creating you will get the idea.
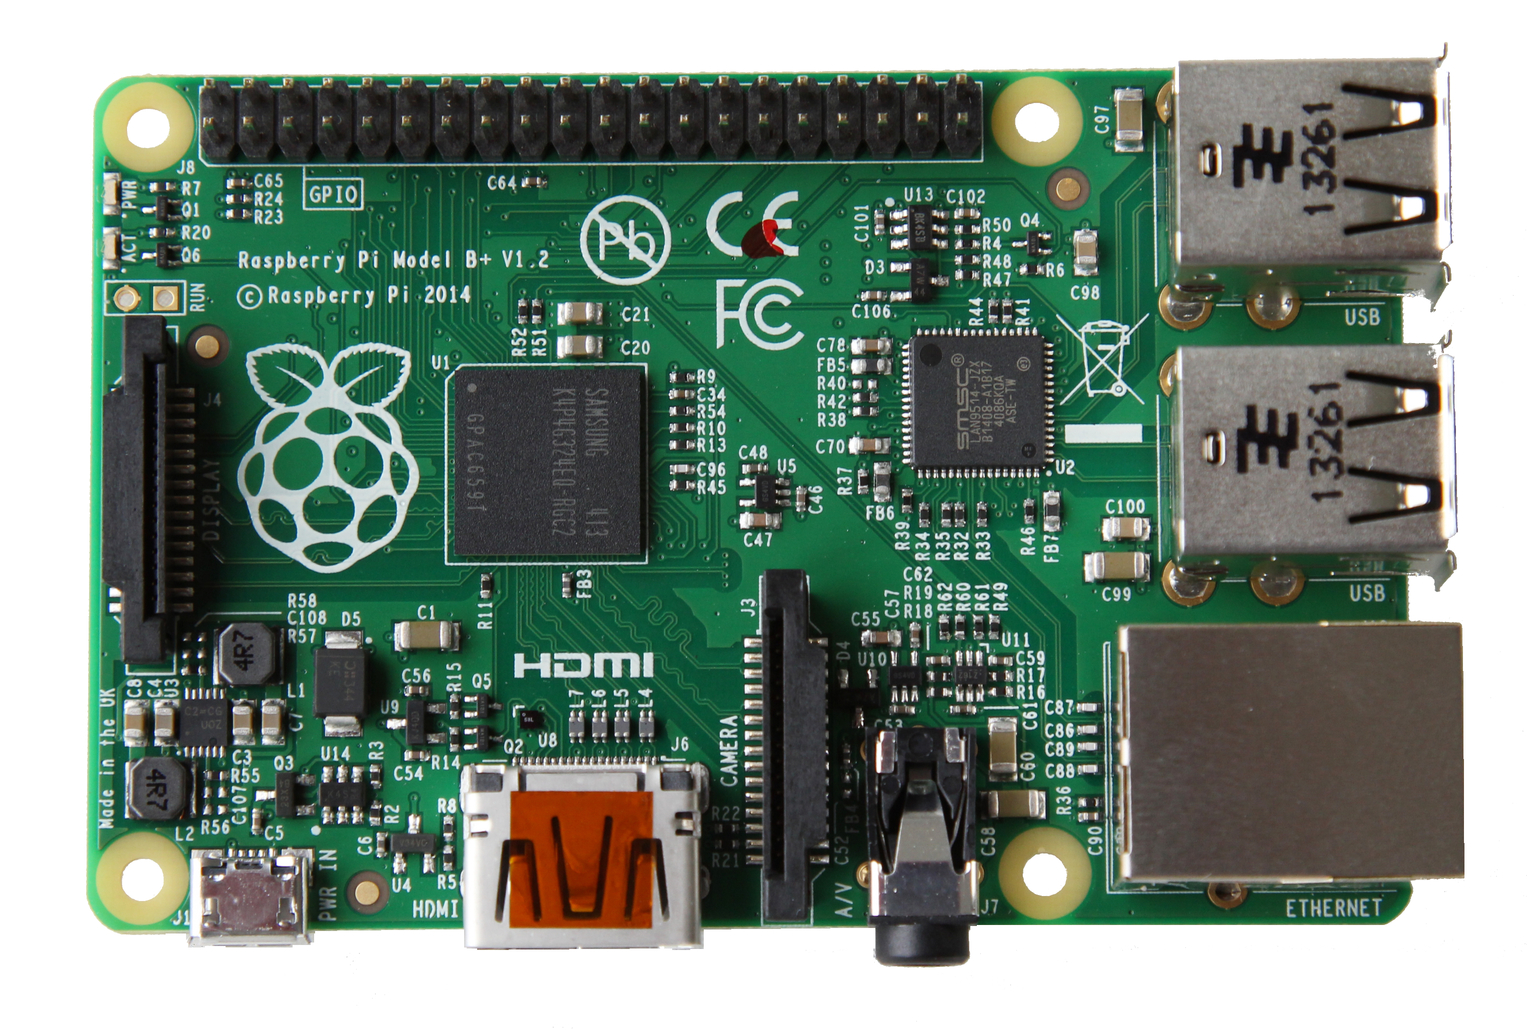
1.) Raspberry Pi with Micro SD card
2.) Arduino Uno R3
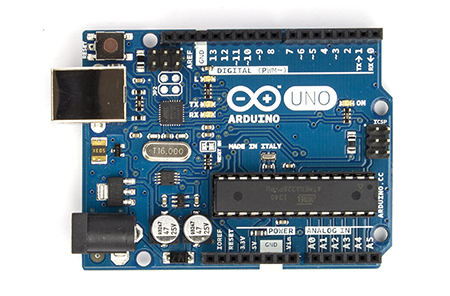
3.) Arduino WiFi shield

4.) Led Bulbs for Testing
5.) Breadboard with jumper wires
The first step is we have to prepare the raspberry pi. So we have to configure the raspberry pi you have to a little bit of digging on the internet.
Here I give you some links to configure the raspberry pi
You need to install an OS to raspberry pi... I suggest you install the Raspian os
https://www.youtube.com/watch?v=oBmOymY7h1M
https://www.howtoforge.com/tutorial/howto-install-raspbian-on-raspberry-pi/
http://www.makeuseof.com/tag/install-operating-system-raspberry-pi/
Then you have to configure the network settings...
http://weworkweplay.com/play/automatically-connect-a-raspberry-pi-to-a-wifi-network/
So guys for the first day I think this is enough... So hope you will do these steps and ready your raspberry pi for the IOT project. See you soon with Next step in that step we are going to ready our Arduino with wifi-shield. So goodbye for now...
Please ask if you have any trouble with today's lesson...
First Let's see what is the IoT concept...

The Internet of Things (IoT) is the network of physical objects or "things" embedded with electronics, software, sensors, and network connectivity, which enables these objects to collect and exchange data.
Above definition is on the Wikipedia. So let's get the simple idea of it. In IOT we are making every day-today equipment as a thing of the internet. So as an example imagine if you want to lit a bulb of your home when are in your office you can do it with this technology...
okay, I think its enough with definitions... Let's keep our hands dirty.....
What you will need for part 1 ???
In this part first, we are creating the IOT hub. Which is the box which we use to connect all of our IOT devices? Don't think much about this Hub for now. After creating you will get the idea.
1.) Raspberry Pi with Micro SD card
2.) Arduino Uno R3
3.) Arduino WiFi shield
4.) Led Bulbs for Testing
5.) Breadboard with jumper wires
The first step is we have to prepare the raspberry pi. So we have to configure the raspberry pi you have to a little bit of digging on the internet.
Here I give you some links to configure the raspberry pi
You need to install an OS to raspberry pi... I suggest you install the Raspian os
https://www.youtube.com/watch?v=oBmOymY7h1M
https://www.howtoforge.com/tutorial/howto-install-raspbian-on-raspberry-pi/
http://www.makeuseof.com/tag/install-operating-system-raspberry-pi/
Then you have to configure the network settings...
http://weworkweplay.com/play/automatically-connect-a-raspberry-pi-to-a-wifi-network/
So guys for the first day I think this is enough... So hope you will do these steps and ready your raspberry pi for the IOT project. See you soon with Next step in that step we are going to ready our Arduino with wifi-shield. So goodbye for now...
Please ask if you have any trouble with today's lesson...


Comments
Post a Comment
Comment