Simple Internet Of Things (IOT) Project For Home ( Part 2)
More On Configuring the Raspberry pi with Raspian OS

Hello, this is my 2nd post on iot for a home project. I thought that it will be good to give you some idea about Raspberry pi and its configurations in this tutorial.
Actually Raspberry pi is a small computer which runs Linux kernel. We use Arduino and PIC for electronics but the difference with Rpi is Rpi has a processor. But Arduini and PIC are Micro Controllers. Mirco Controllers does not have much performance like Rpi.
The Raspberry Pi on the other is a complete, functional, mini-computer. It requires an operating system . Storage is provided from a micro-SD card.
Although the Arduino can be programmed with small C-like applications, it cannot run a full scale “operating system” and certainly won’t be replacing your media centre anytime soon. The Raspberry Pi, on the other hand, is a computer.
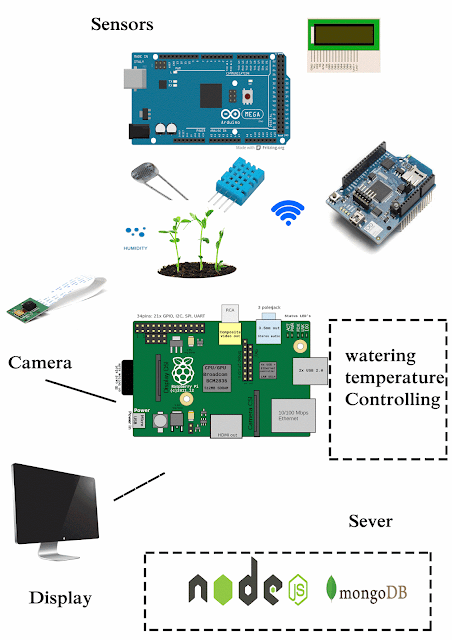
For this project, I'm using the Raspberry Pi Model B+
It has the following features
- More GPIO. The GPIO header has grown to 40 pins while retaining the same pinout for the first 26 pins as the Model A and B.
- More USB. We now have 4 USB 2.0 ports, compared to 2 on the Model B, and better hotplug and overcurrent behaviour.
- Micro SD. The old friction-fit SD card socket has been replaced with a much nicer push-push micro SD version.
- Lower power consumption. By replacing linear regulators with switching ones we’ve reduced power consumption by between 0.5W and 1W.
- Better audio. The audio circuit incorporates a dedicated low-noise power supply.
- Neater form factor. We’ve aligned the USB connectors with the board edge, moved composite video onto the 3.5mm jack, and added four squarely-placed mounting holes.
So in the previous tutorial, I gave you some videos on how to install Raspian OS and how to configure Network Connections. I hope that you have gone through those tutorials successfully.
We need a monitor to work with Raspberry Pi
If you are unable to find a monitor to work with Raspberry there is a solution.

Using this wireless module you can connect your laptop with the raspberry pi with ssh command.
To configure wireless
If your pc has Linux you can easyly ssh pi@192.168.43.252 -X and after typing password as raspberry you can log into your raspberry pi.
But in windows, you have to install putty. In the following tutorial, you can log into your raspberry pi.
But can we work with GUI using ssh terminal????
I know you have this problem. The answer is yes. You can simply turn on the GUI using the following command
xdg-open .
then the file manager will open and you can work as working in your pc.
Programming in Raspberry PI to our IoT project
we need to create a small server in raspberry pi in order to connect devices and do our IoT stuff.
So first you need to install python in the Raspberry Pi
Use this link to how to install python packages
Then we should install a message broker to work with Raspberry Pi... I'll tell you what is a message broker in another tutorial. For now, I'm focusing on prepare your raspberry pi to work with this project
You can install a message broker by typing these in your terminal
That's it ...... Now I think your Raspberry PI is ready to the IoT. Cu with the next tutorial.......


Coin Casino - CasinoRewards
ReplyDeleteThe online CasinoRewards program is the standard febcasino one, except you can't redeem and deposit at 메리트 카지노 고객센터 a coin-and-a-half dollar rate. 인카지노 So, you can withdraw at a Coin Casino.